Easy Cream Puffs in the microwave for the novice baker!!
Hello everyone! Thank you for stopping by
on my blog. You are about to witness the most creamy and beautiful light slices
of heaven when you bake these cream puffs and wow your friends and family away!
I am a novice baker. By novice, I
mean…I am literally cooking this for the first time in my life and I am on the
wrong side of 25 :D. But I believe in learning every day and I would love for
you to learn with me! This recipe is mainly for all such people like me who haven’t
practiced a lot but would love to show off their baking skills to their loved
ones. Because baking is the biggest stress buster, am I right? And the feeling
of your husband stuffing himself silly with your food while he loosens his
pants…ah…nothing sexier!
This recipe does NOT use an oven. It
instead uses a microwave on a convection (oven) setting. So the temperatures are based on my own
experience Feel free to add any suggestions or comments below.
Puffs
These kind of puffs are known as Choux
pastry apparently, which sounds difficult but it really isn’t! It is a really
unique kind because it doesn’t use a chemical agent to rise. It rises solely
because of the air trapped between the eggs and water, and the steam. However,
it WILL rise. Only if you trust your pastry will it trust you back. :D
Ingredients
½ cup water
½ cup milk (full fat is best)
8 Tbsp melted butter
4 Tbsp sugar
¼ Tsp salt
1 cup white flour
½ tsp vanilla essence
4 eggs
Instructions.
In a deep bottom saucepan, add the milk,
water, butter, sugar and salt. Stir continuously while at medium heat and bring
to a boil. Then remove the pan from
heat, and add in your flour all at once.
Continue stirring until all the flour
is incorporated into the mixture. Place the pan back over the stove for a
minute while stirring continuously to release the moisture and make a firm
smooth dough. Eventually, your dough should come together into a firm, smooth,
creamy ball.
Transfer the dough into another bowl and
wait for it to cool for around 15 minutes. After it has cooled, add 1 egg at a
time and mix the dough thoroughly each time. (A lot of recipes at this stage
advice you to use an electric whisker to mix your dough well. If you don’t have
an electric whisker (like me again!), just mix it vigorously with a wooden
spoon each time you add the eggs).
The more you whisk your batter, the more
your puff will rise up since it depends on the air you manage to incorporate
into your batter. So get those arms working as hard as you can! Or you can
simple use your electric whisker and pooh pooh at me from up there :D
Once you are done with this, you should
have a mixture having a ribbon like consistency i.e when you raise your spoon,
the batter lifts up like a ribbon. It basically stands for soft, creamy,
buttery consistency. I couldn’t believe how beautiful it looked! Add vanilla
essence at this point.
 At this stage you would need a piping bag
to pipe the pastry onto the baking sheet. Again, something I don’t have! So take a part of the batter with your small spoon, grab another
spoon, place the batter in the middle and use them both to make a smooth ball. Too
complicated?! Just simply take the batter with a small spoon and place it on
your baking tray one at a time. Keep a distance between the spoonfuls as shown
in the picture!
At this stage you would need a piping bag
to pipe the pastry onto the baking sheet. Again, something I don’t have! So take a part of the batter with your small spoon, grab another
spoon, place the batter in the middle and use them both to make a smooth ball. Too
complicated?! Just simply take the batter with a small spoon and place it on
your baking tray one at a time. Keep a distance between the spoonfuls as shown
in the picture! 
Now, in a routine oven you would preheat
it to get it to the right temperature before placing in your pastry. But since
this is a microwave, simply place your pastry inside, and turn the setting of
your microwave to convection at a temperature of 170 degrees Celsius for a
period of 20-25 minutes.
 Open your microwave and check if done be
observing the golden brown color of your puffs! They should by now be amazingly
golden, light, airy and perfect! If they aren’t, then just keep them in your
microwave for 5 more minutes and then take them out. (timings might differ based
on different brands of microwaves or so I’ve noticed)
Open your microwave and check if done be
observing the golden brown color of your puffs! They should by now be amazingly
golden, light, airy and perfect! If they aren’t, then just keep them in your
microwave for 5 more minutes and then take them out. (timings might differ based
on different brands of microwaves or so I’ve noticed)
After you’ve gotten them all out, place
them in a proper serving tray to cool down. Smack your hand away as it sneaks
up to eat the delightful puffs. Or don’t. I once ate an entire batch of cookie
dough before I could bake any, so no judgement here. Let’s move on to the
filling.
Cream
Filling.
Since this is a classic French dessert,
most of the recipes advice you to fill it with whipped cream. Whipped cream
requires heavy cream to start with, and then you whip that to get to the
consistency of whipped cream peaks. Heavy cream is not easily available in
India, so I had to make another alternative filling for the cream puffs. Don’t worry!
These are just as delicious, and slightly healthier too since it uses milk and
not cream!
Ingredients
2 cups milk
6 Tbsp sugar
½ Tsp salt
3 Tbsp corn flour
½ tsp vanilla essence
3 egg yolks
1 large egg
3 Tbsp melted butter
Instructions
Add the sugar, full egg, egg yolk,
cornflour, vanilla essence and salt in a bowl and whisk together. There should
be absolutely NO lumps in the mixture if you want smooth cream filling!
Place the milk in a saucepan on medium
heat and bring to a boil. As soon as the milk starts to bubble up, pour half of
the milk slowly into the egg mixture while CONSTANTLY whisking. This step will
temper the eggs. Once that is done, add the whole mixture back into the
saucepan with the rest of the milk.
This filling is essentially a custard, so continuously
stir the mixture to avoid clumps forming. Heat it until the custard comes to a
boil, after which you should lower the heat and cook for a further two minutes
at low heat.
 |
| Hollow Centre for the cream |
Remove
the saucepan from heat, and add in the butter. Whisk it continuously until it
is completely incorporated into the custard mix.Pour the custard into a bowl, and cover it
with a plastic wrap to prevent the film of fat forming on the top.
Let it cool to room temperature, and then
set it in the refrigerator for chilling. This filling is going to thicken as it
sets. So don’t worry if it seems a bit liquid to you in the beginning.
Once, its cooled…just open your pastry
puffs by slicing off the top, place the cream inside and cover up the top
again. Again, this step is for people who don’t have a piping bag. If you do
have one, just pipe your cream into your puffs easily. The cream puffs will be hollow from the middle so that you can fill the cream in. Either way, you end up
with cream filled puffs sitting exquisitely on your serving tray.
Your magical little drops of beauty are ready. I see the gush of praises making way down your winding lane. And here they come knocking at your tiny kitchen door!
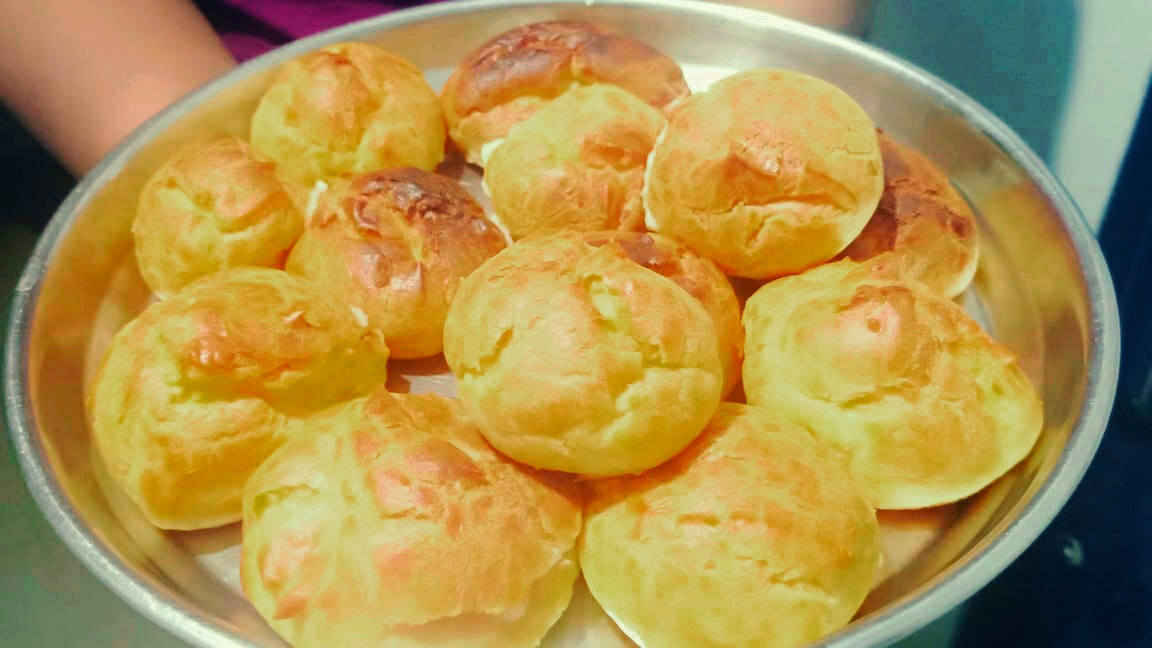 |
| Cream filled Puffs! |
Your magical little drops of beauty are ready. I see the gush of praises making way down your winding lane. And here they come knocking at your tiny kitchen door!
**********************************************************
These puff pastries sound delicious ! No wonder they would taste even "batter" ;);)
ReplyDeleteDayum! Although I don't plan to bake any sooner but I do have craving now to have a taste of it... What a creative way to share how it's done! ��
ReplyDelete